Exchange 传输代理开发指南
背景我就不介绍了,能看这篇文章,说明你不是凡人。
实验环境如下:
- 服务器系统:
Windows Server 2016 Standard - Exchange 版本:
Microsoft Exchange Server 2016 - 开发环境:
Windows 11 Pro + 宇宙第一IDE 👉 Visual Studio 2019
准备
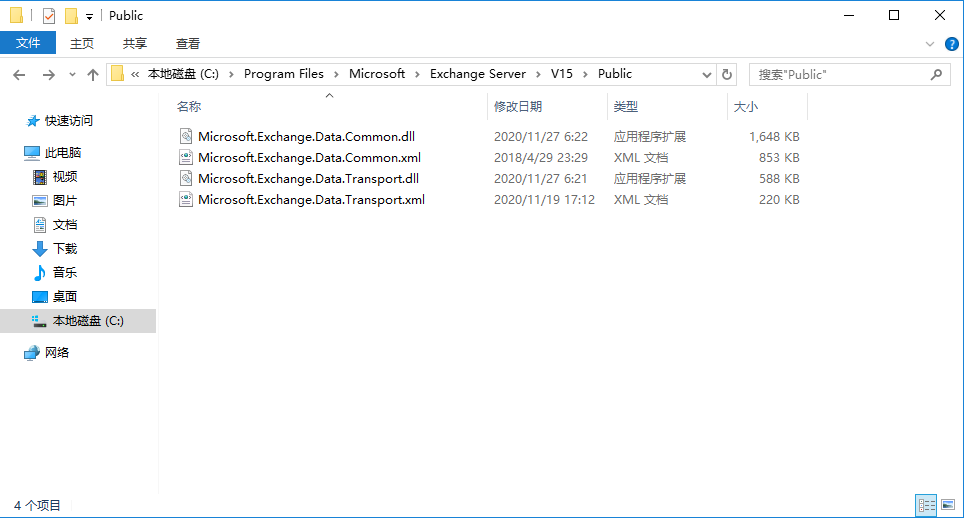
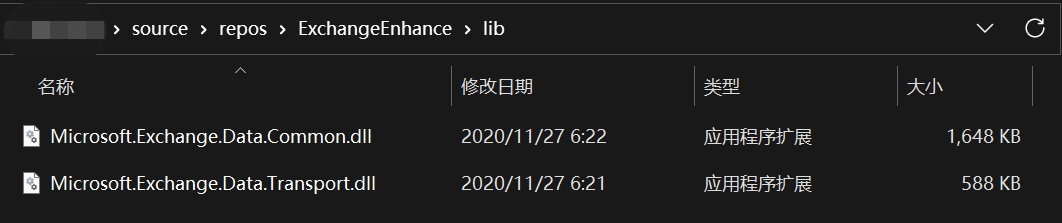
Exchange Transport Agent的开发需要依赖两个dll:
Microsoft.Exchange.Data.Common.dllMicrosoft.Exchange.Data.Transport.dll
可从Exchange Server的安装目录中获取,具体位置为C:\Program Files\Microsoft\Exchange Server\V15\Public(假设安装在 C 盘)。
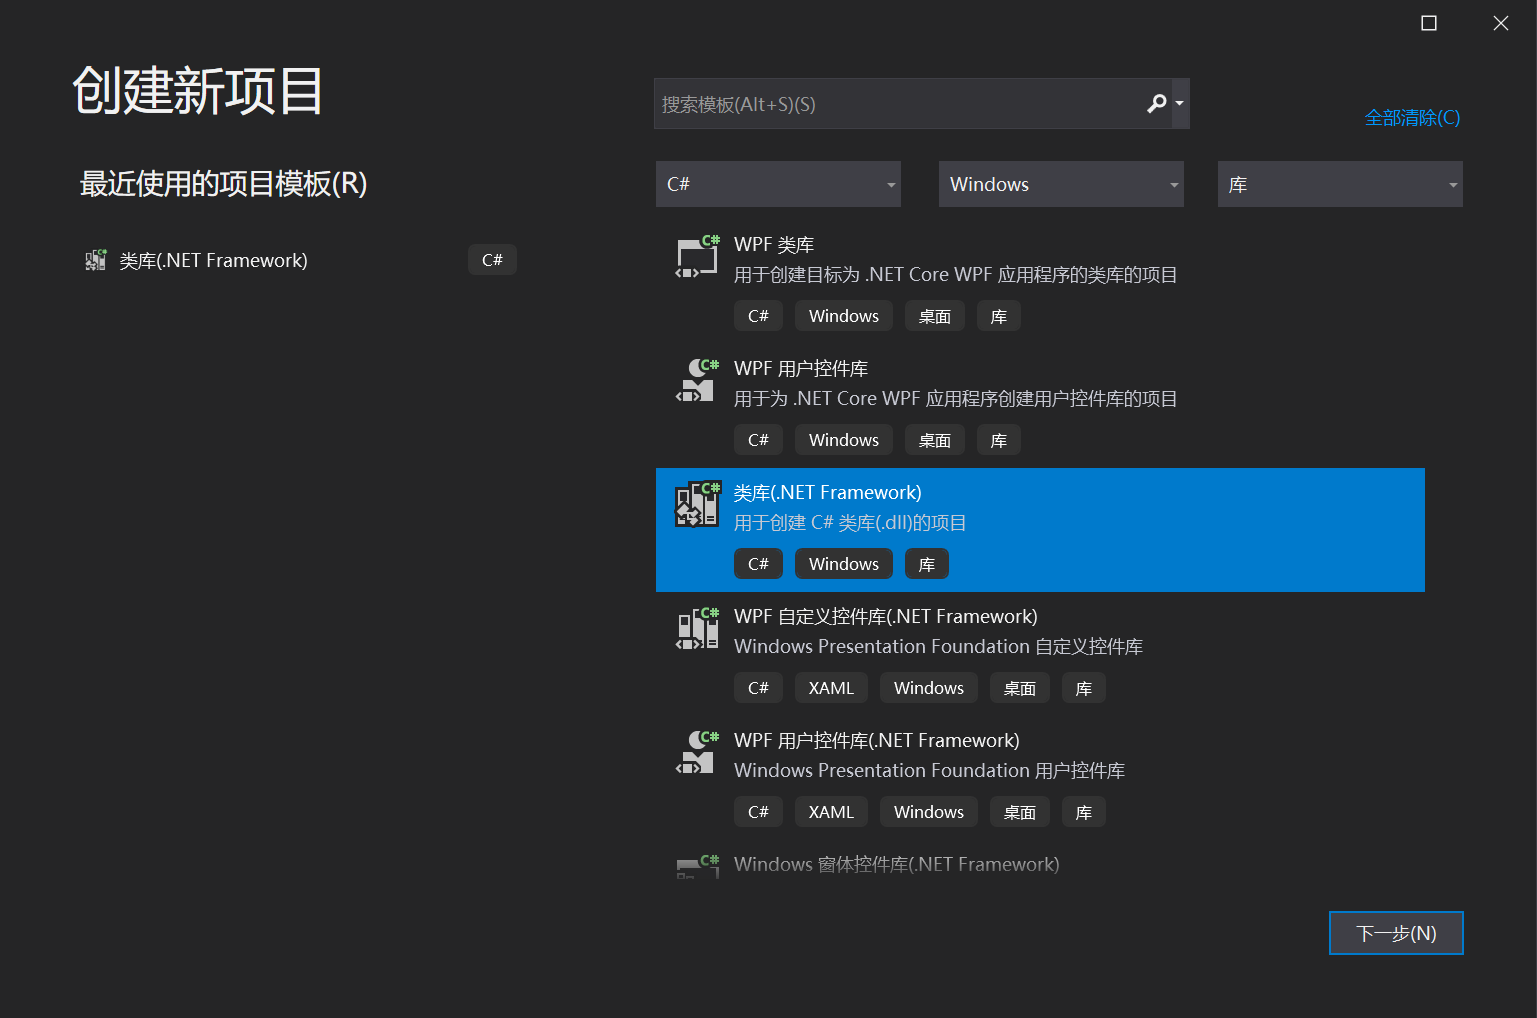
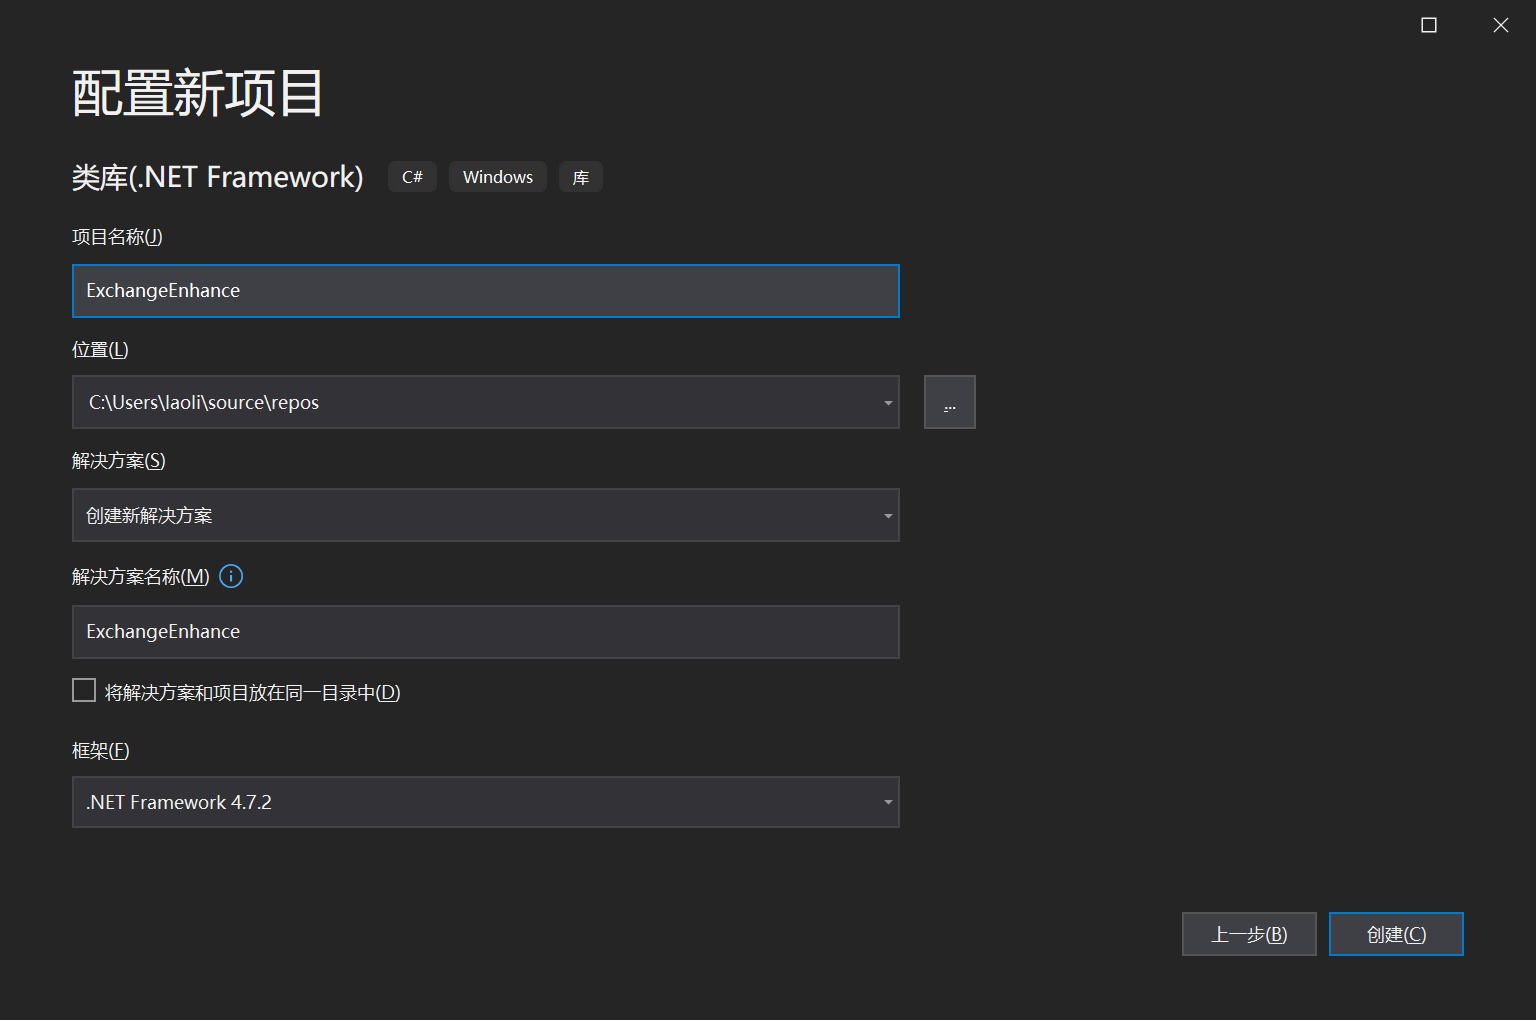
创建项目
打开 Visual Studio,按如下步骤创建C#类库项目。
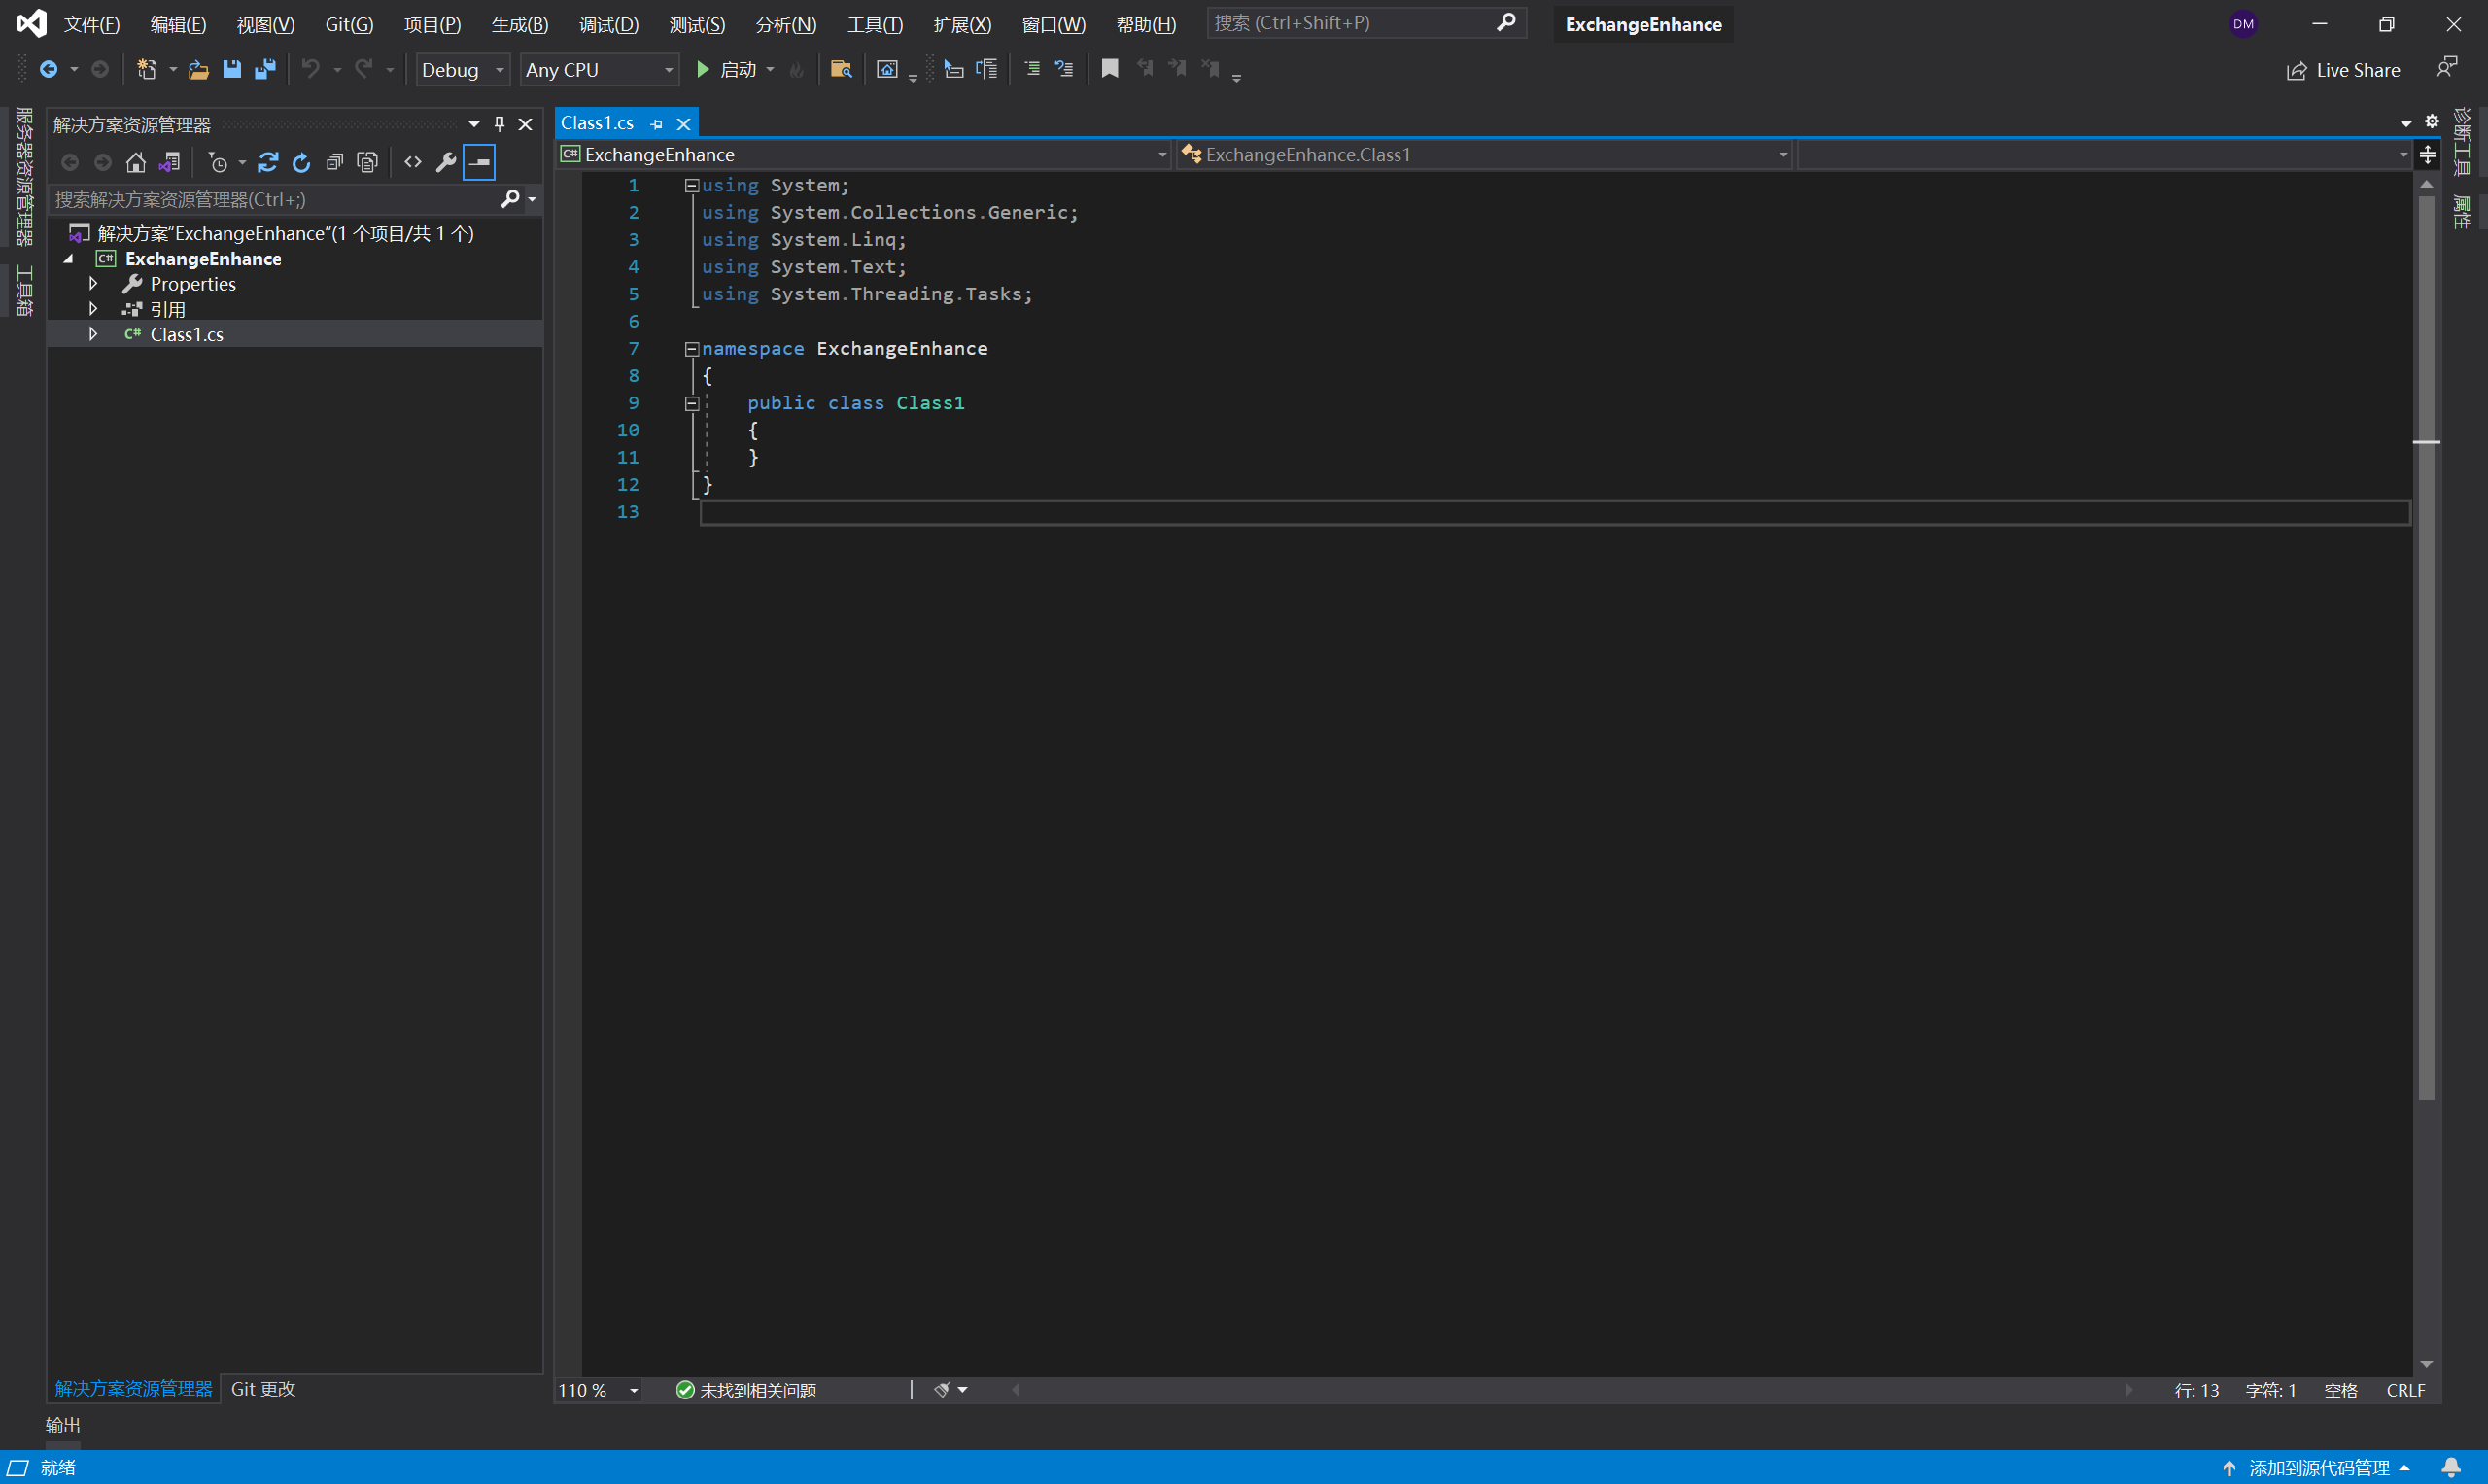
完成之后你会得到如下项目:
引入依赖
在刚才创建的解决方案根目录下创建lib目录,存放依赖库。
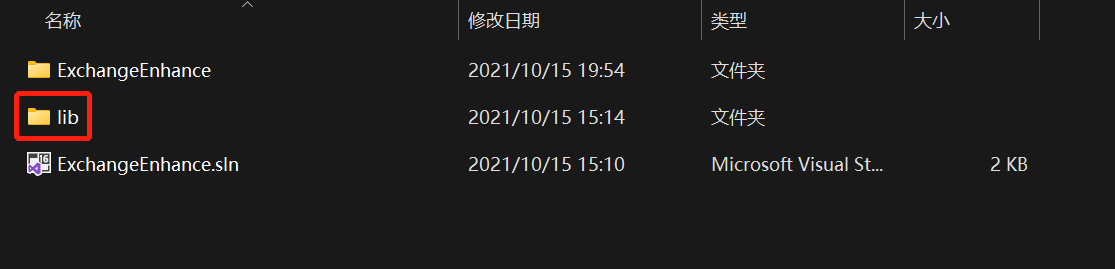
依赖库存放的位置没有固定要求,只是这样做会规范一点。

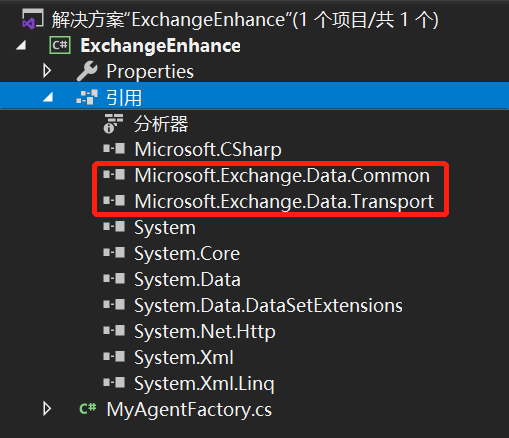
这样依赖就添加好了。
编写代码
删除默认的源文件Class1.cs,创建源文件MyAgentFactory.cs,或者重命名也行,内容如下:
using Microsoft.Exchange.Data.Transport;
using Microsoft.Exchange.Data.Transport.Smtp;

namespace ExchangeEnhance
{
    public sealed class MyAgentFactory : SmtpReceiveAgentFactory
    {
        public override SmtpReceiveAgent CreateAgent(SmtpServer server)
        {
            return new MyAgent();
        }
    }

    public class MyAgent : SmtpReceiveAgent
    {
        public MyAgent()
        {
            this.OnEndOfData += new EndOfDataEventHandler(MyEndOfDataHandler);
        }

        private void MyEndOfDataHandler(ReceiveMessageEventSource source, EndOfDataEventArgs e)
        {
            e.MailItem.Message.Subject += " - 我在标题里动了手脚!";
        }
    }
}
我们的传输代理只做了一件事,就是在邮件的标题里动了手脚。(本文只讲开发流程,不关注代码细节,况且代码很简单,没什么要讲的)
生成 DLL
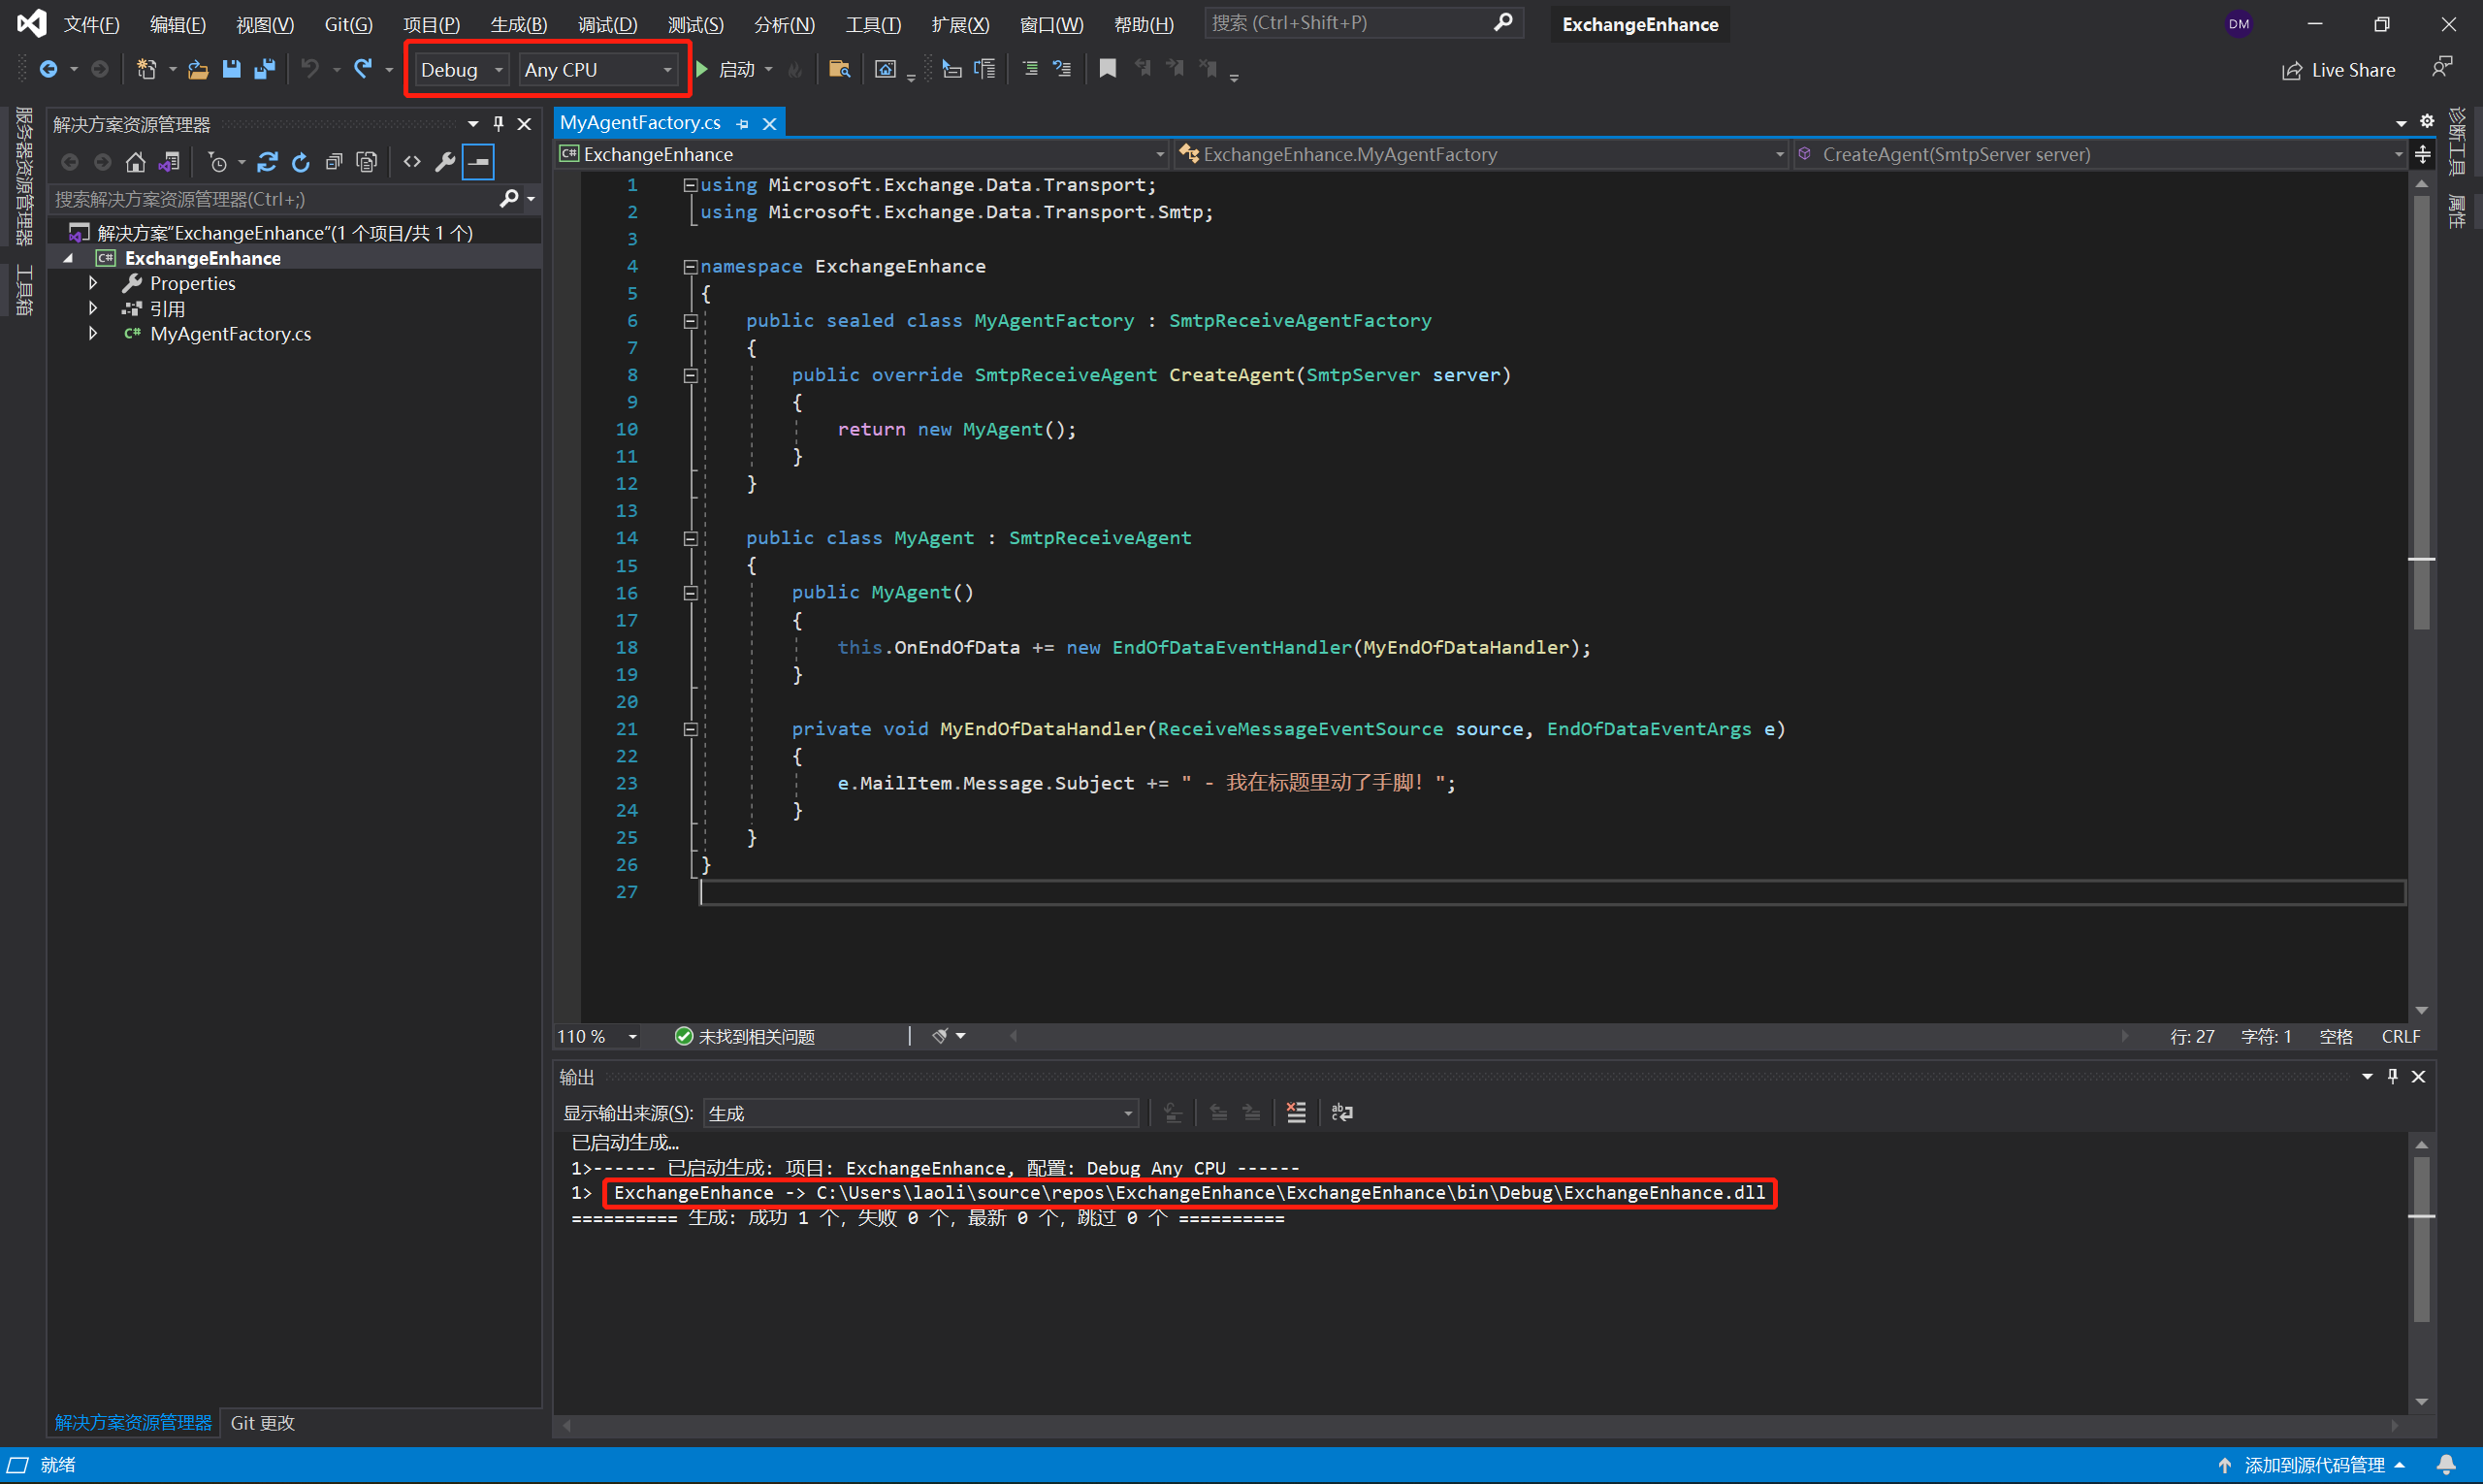
这里我们选择生成用于debug的 DLL。
安装传输代理
复制 DLL 到目标机器
将生成的DLL及调试文件复制到Exchange Server。
开发环境下生成的文件: 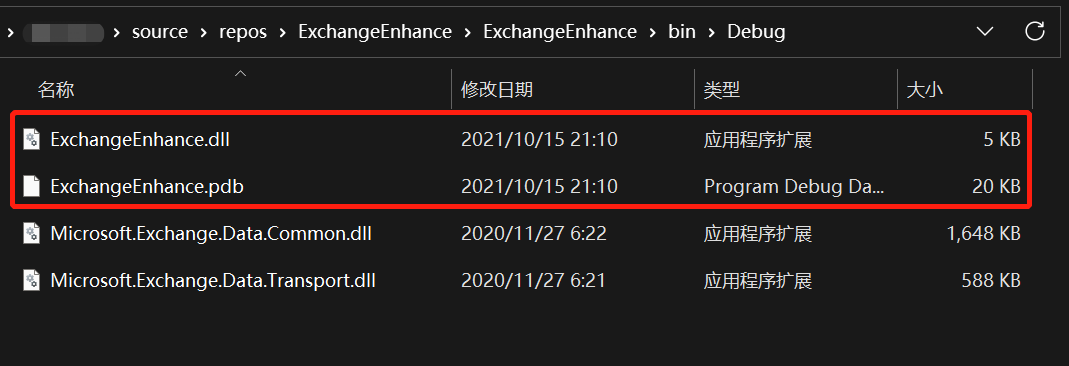
复制到Exchange Server后的文件: 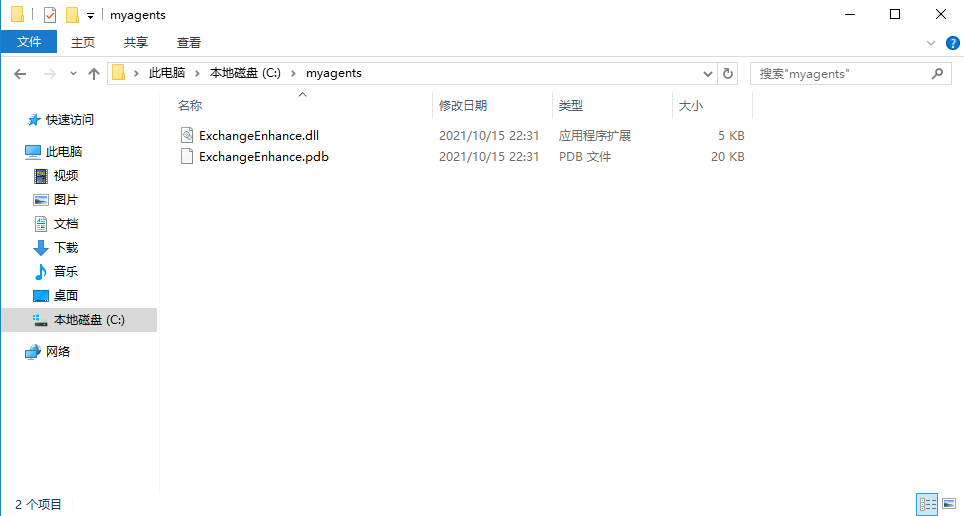
这里我在 C 盘根目录下创建了文件夹myagents,并将文件放在了该文件夹下。(理论上讲文件位置应该是没有限制的,但是当我把文件放在桌面的时候程序无法正常运行)
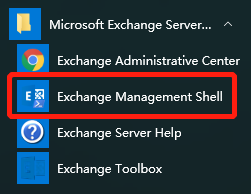
安装传输代理并启用
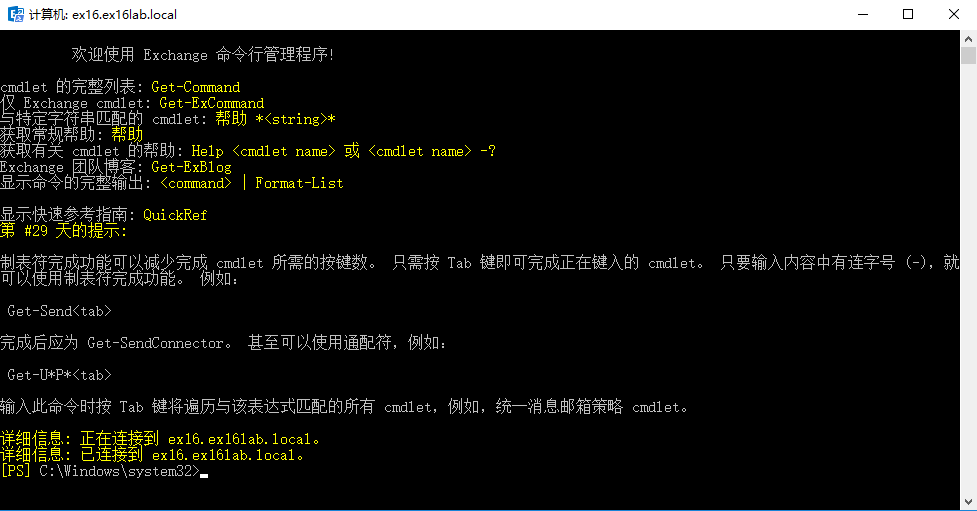
安装传输代理需要使用Exchange提供的命令行管理程序及命令。注意,不是普通的PowerShell。
查看默认的传输代理:
[PS] C:\Windows\system32>Get-TransportAgent

Identity                                           Enabled         Priority
--------                                           -------         --------
Transport Rule Agent                               True            1
DLP Policy Agent                                   True            2
Retention Policy Agent                             True            3
Supervisory Review Agent                           True            4
Malware Agent                                      True            5
Text Messaging Routing Agent                       True            6
Text Messaging Delivery Agent                      True            7
System Probe Drop Smtp Agent                       True            8
System Probe Drop Routing Agent                    True            9
安装传输代理:
[PS] C:\Windows\system32>Install-TransportAgent -Name "MyAgent" -TransportAgentFactory "ExchangeEnhance.MyAgentFactory" -AssemblyPath "C:\myagents\ExchangeEnhance.dll"

Identity                                           Enabled         Priority
--------                                           -------         --------
MyAgent                                            False           10
设置优先级:
[PS] C:\Windows\system32>Set-TransportAgent MyAgent -Priority 2
启用传输代理:
[PS] C:\Windows\system32>Enable-TransportAgent MyAgent
重启服务:
[PS] C:\Windows\system32>Restart-Service MSExchangeTransport
重启 IIS:
[PS] C:\Windows\system32>iisreset
重启 IIS 又是一个玄学问题,有时候传输代理需要在 IIS 重启后才能生效。
查看传输代理的安装情况:
[PS] C:\Windows\system32>Get-TransportAgent

Identity                                           Enabled         Priority
--------                                           -------         --------
Transport Rule Agent                               True            1
MyAgent                                            True            2
DLP Policy Agent                                   True            3
Retention Policy Agent                             True            4
Supervisory Review Agent                           True            5
Malware Agent                                      True            6
Text Messaging Routing Agent                       True            7
Text Messaging Delivery Agent                      True            8
System Probe Drop Smtp Agent                       True            9
System Probe Drop Routing Agent                    True            10
测试传输代理是否生效
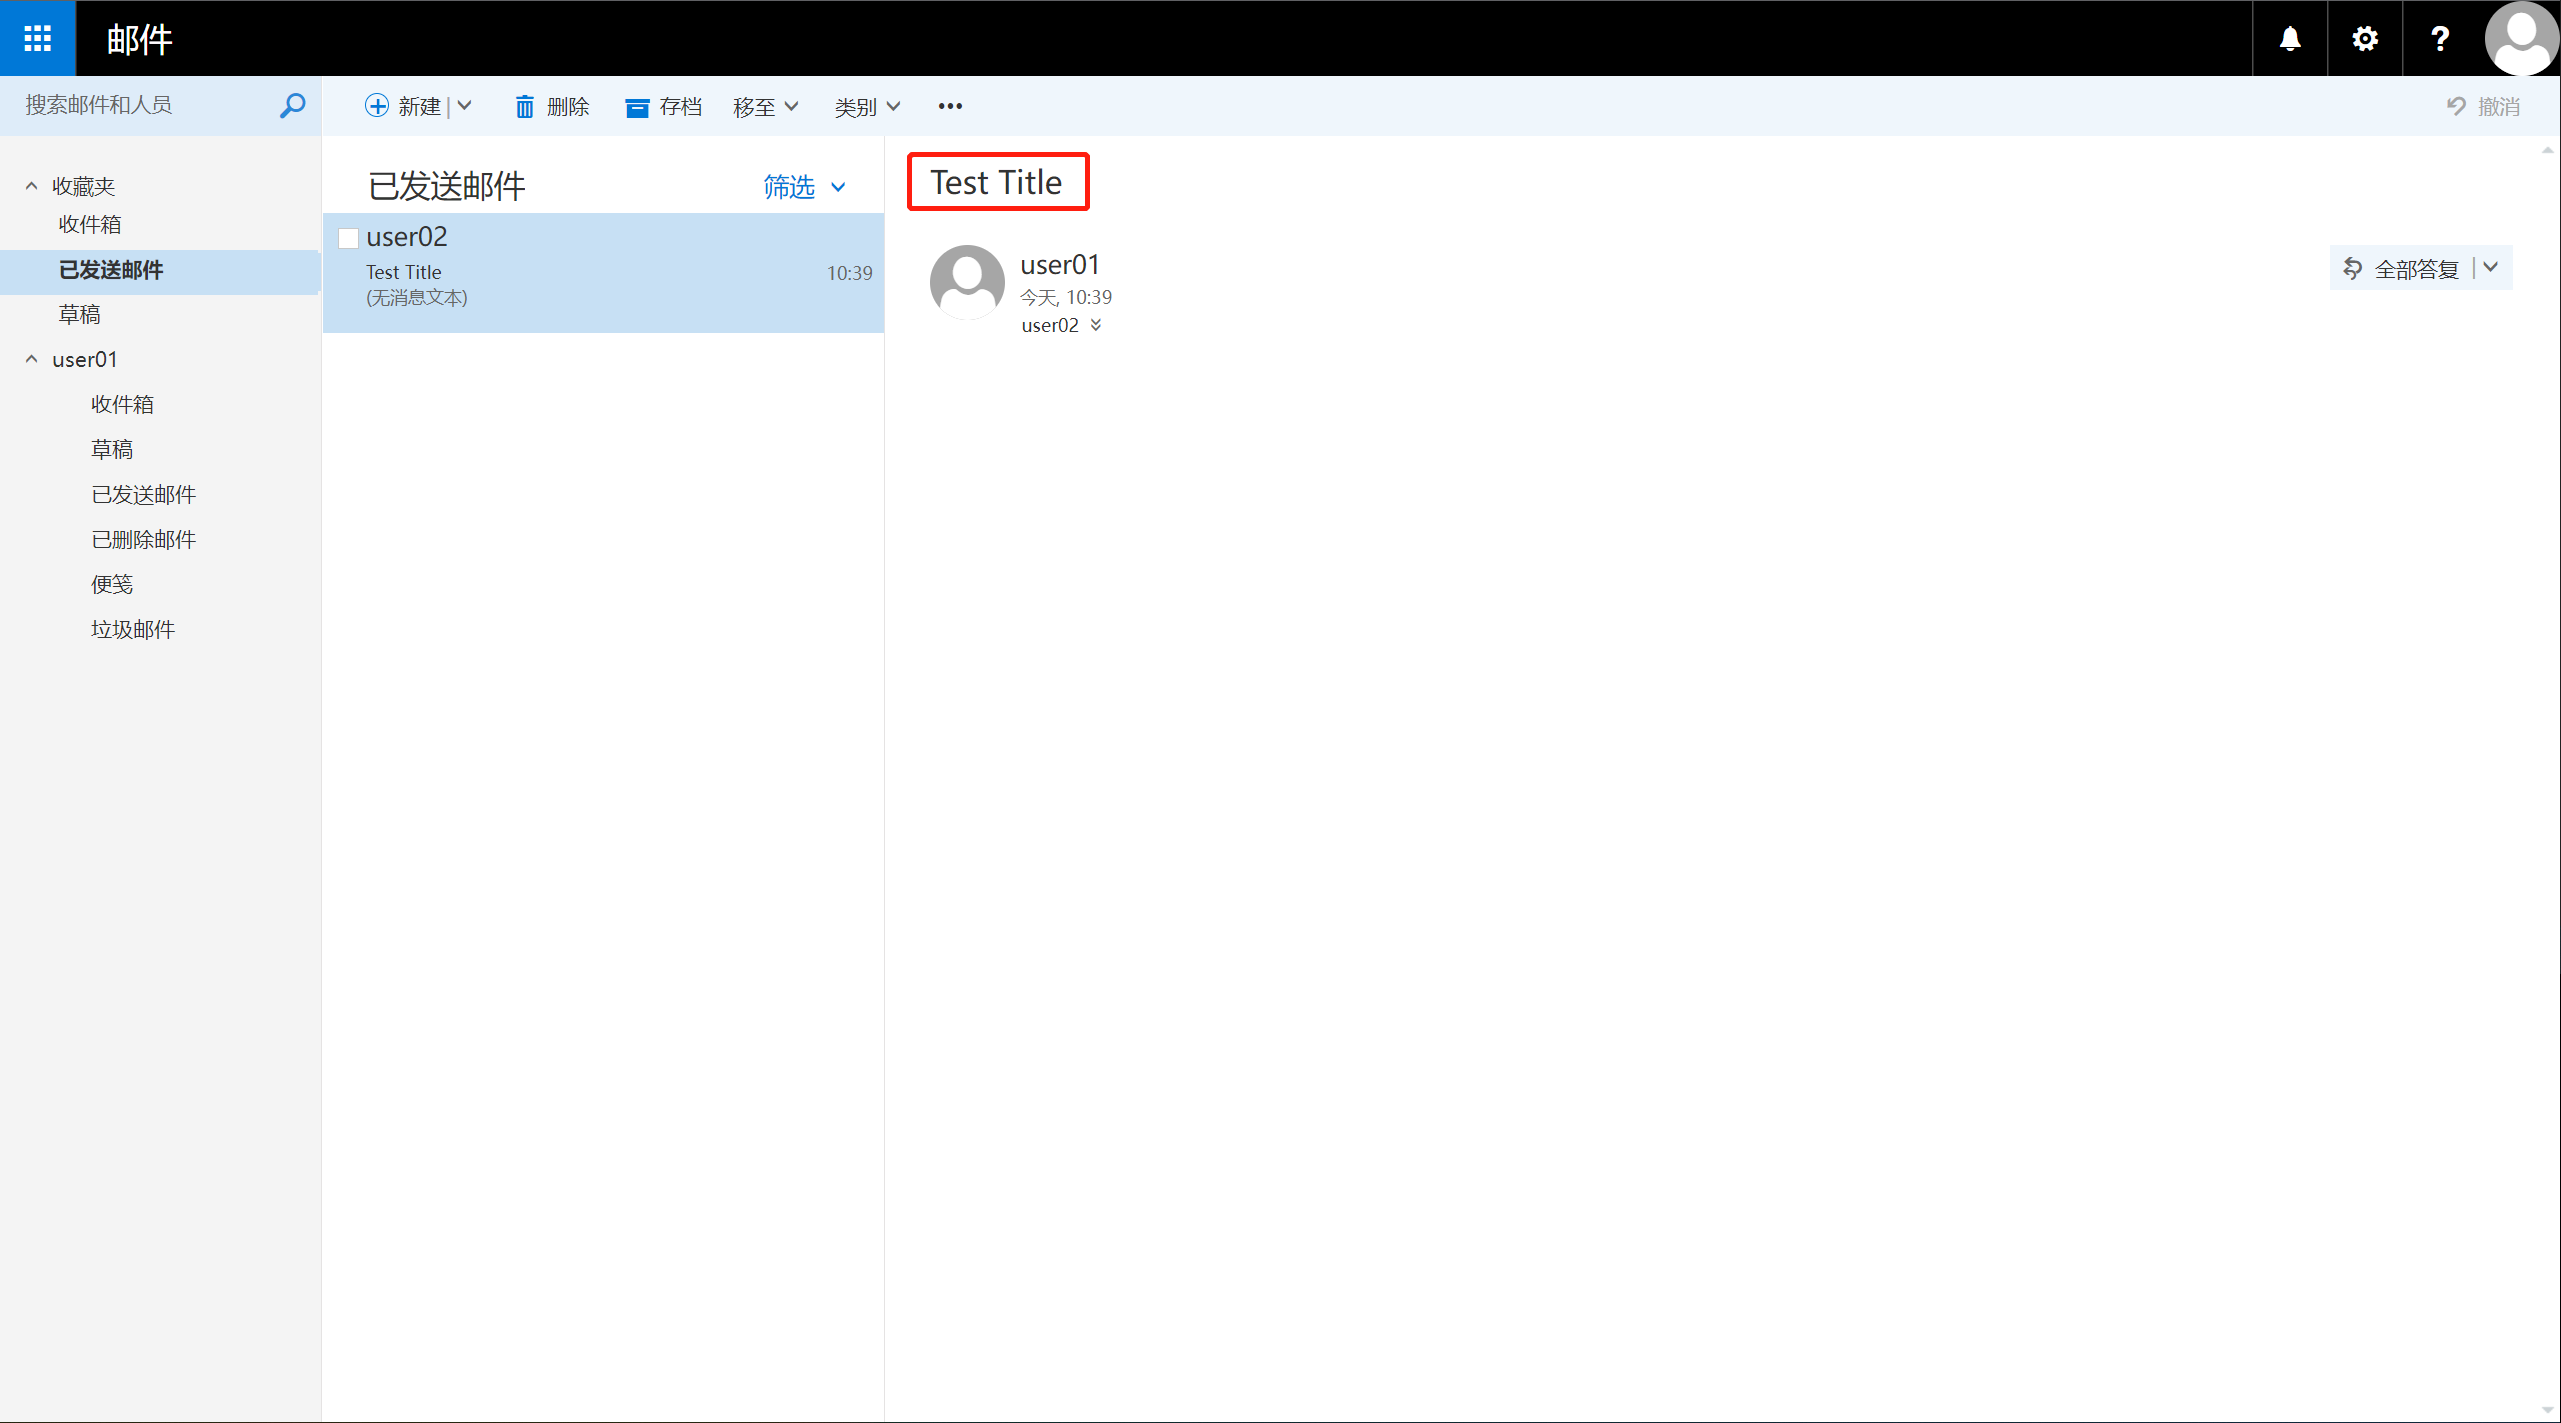
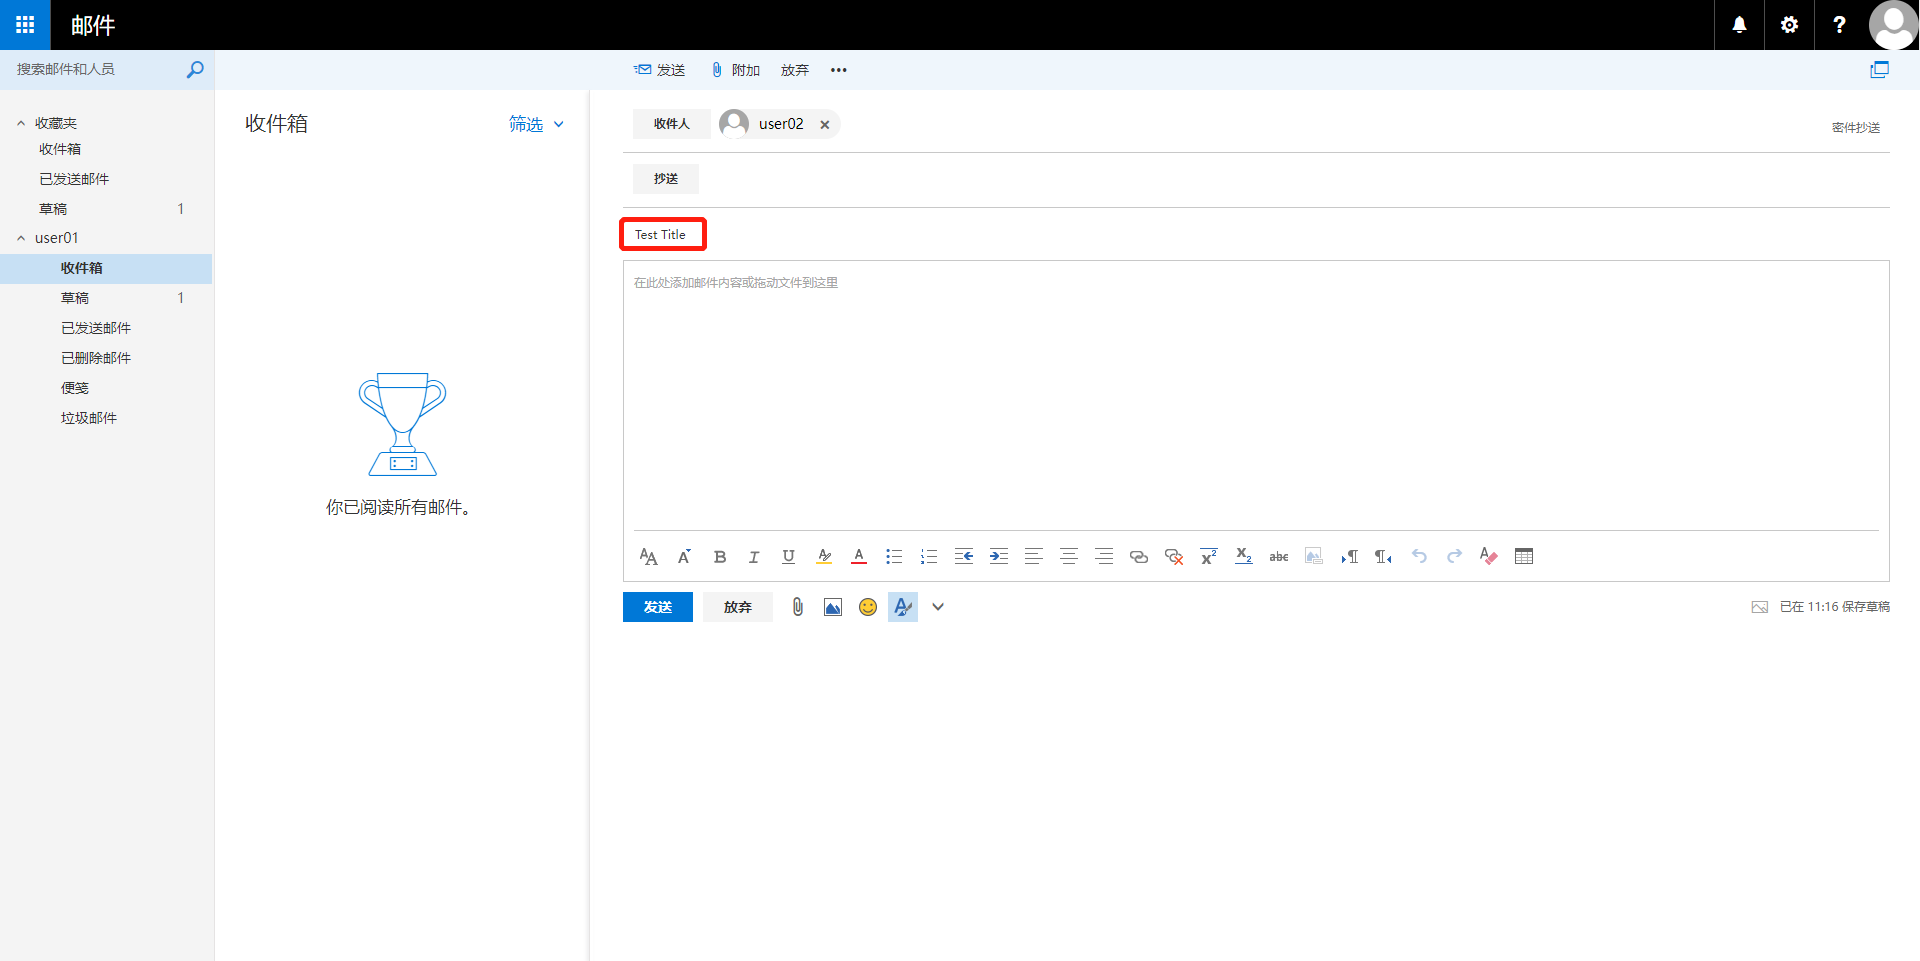
先发一封邮件:
查看接收到的邮件:
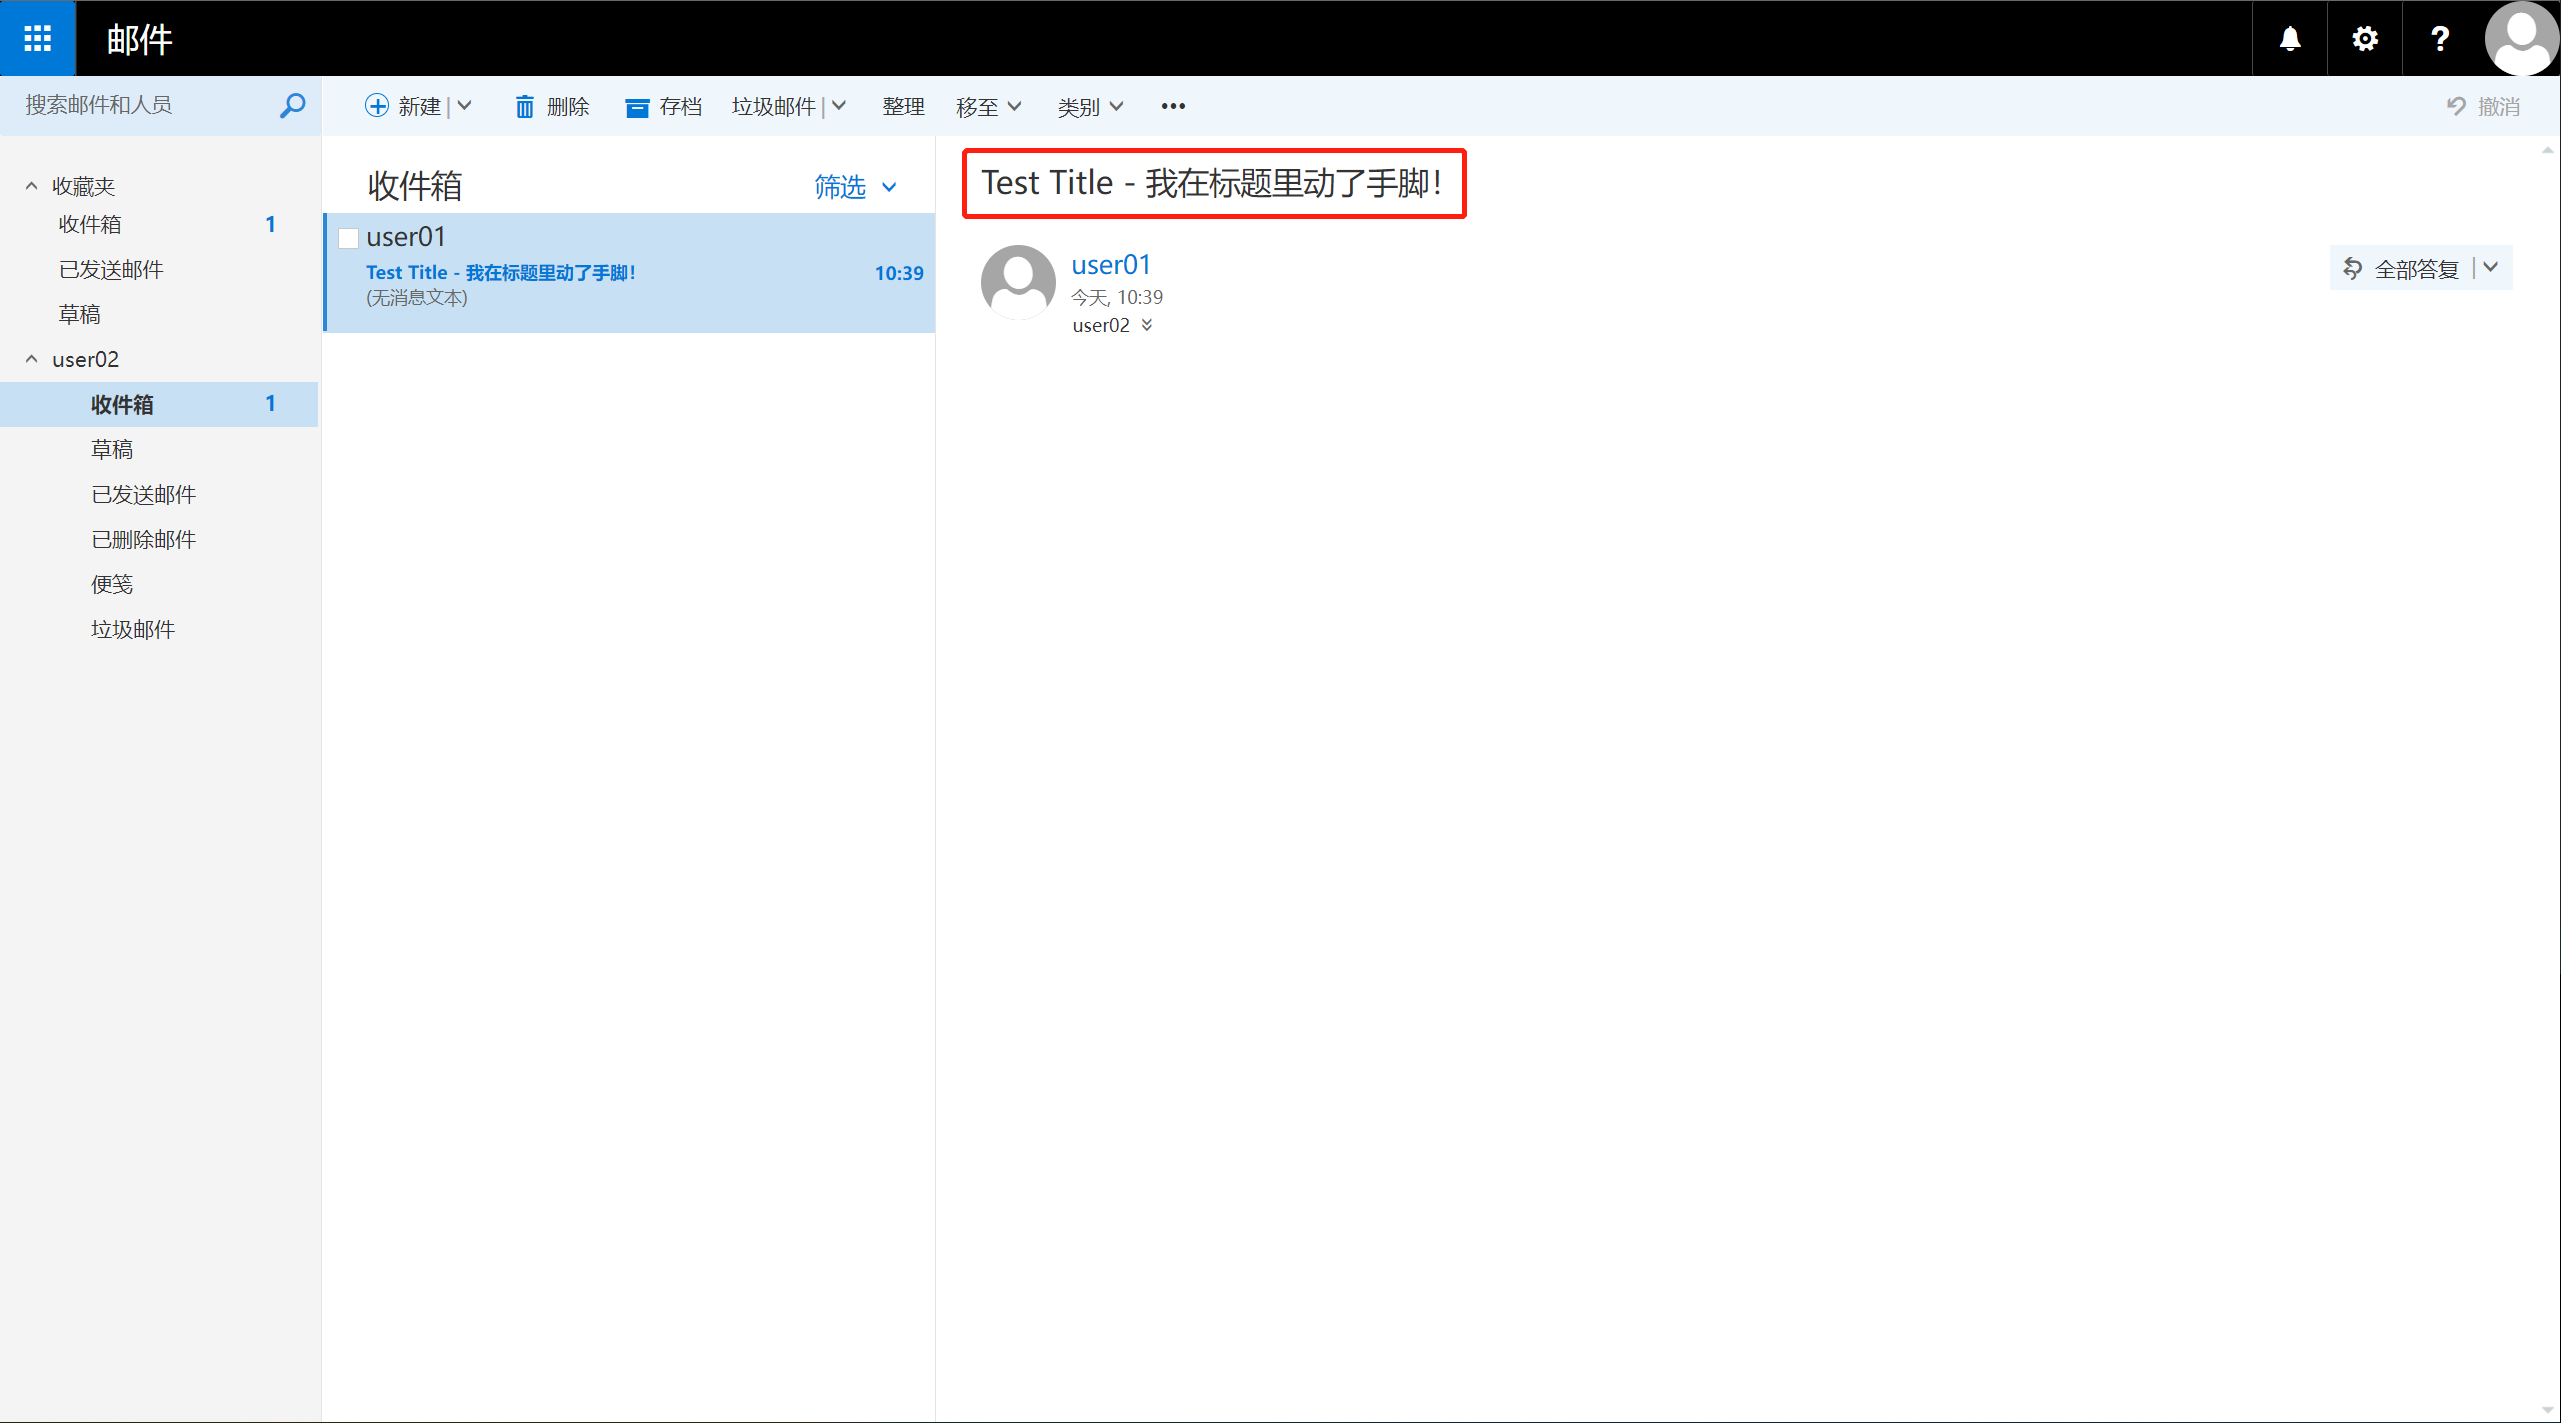
ok,成功!
调试
因为DLL是加载到Exchange Server中运行的,所以需要远程调试。
在
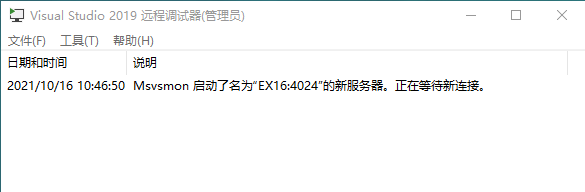
Exchange Server上安装Visual Studio 远程调试工具,版本需要与 IDE 的版本相同,另外还需要注意对应的处理器架构。这里使用的是Visual Studio 2019 远程工具 x64以
管理员身份运行Visual Studio 2019 远程调试器
- 在
Visual Studio菜单栏中选择调试->附加到进程
- 选择目标服务器
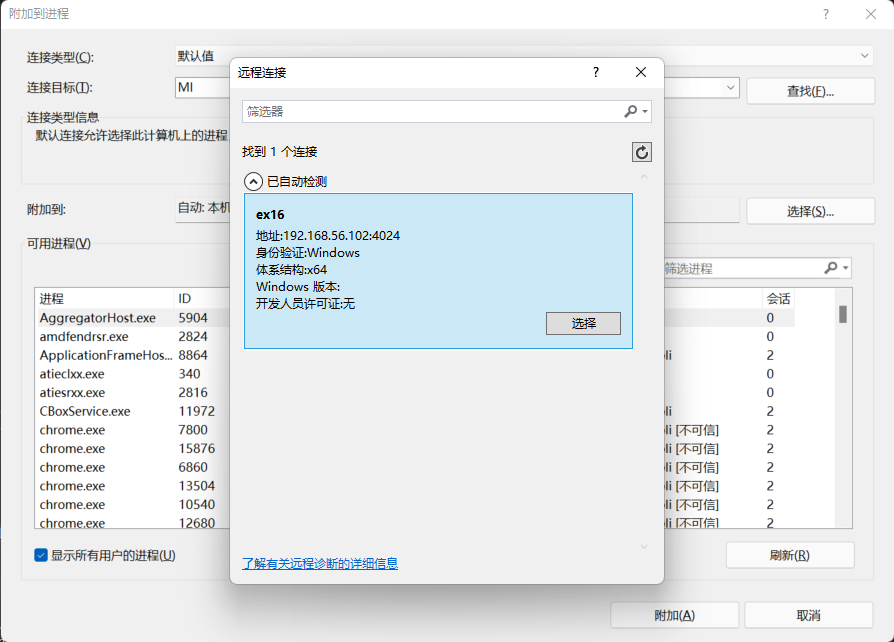
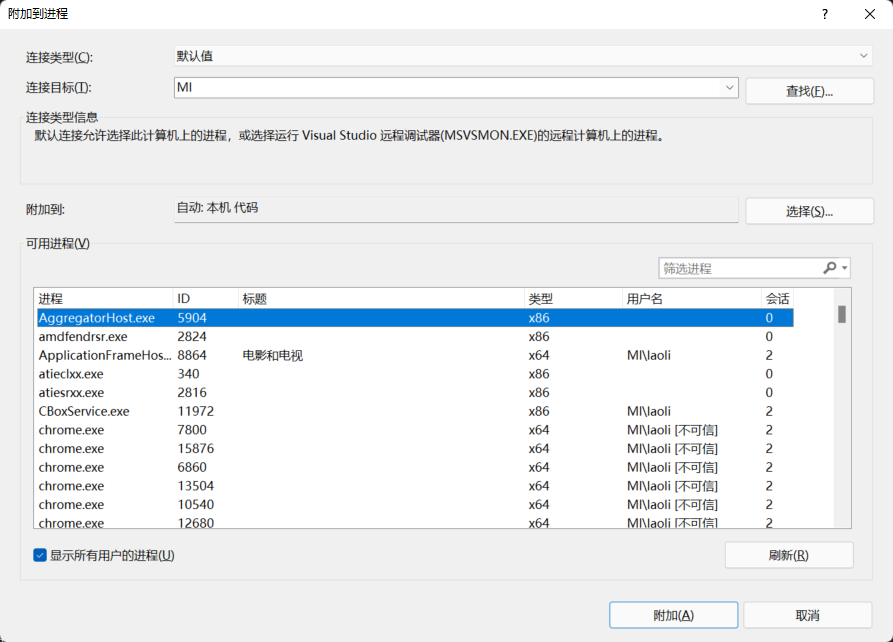
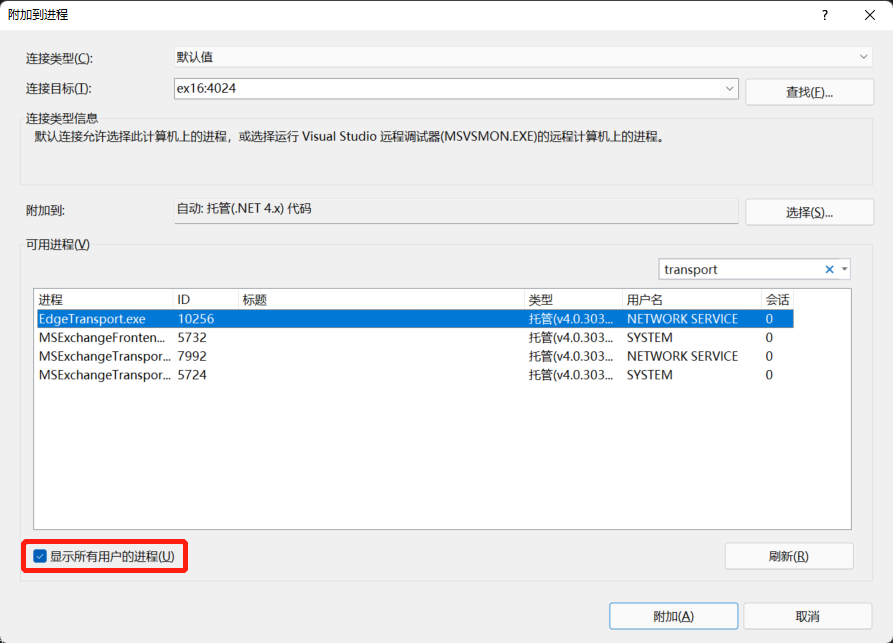
- 选择要附加到的进程
EdgeTransport.exe,注意要勾选“显示所有用户的进程”,点击“附加”按钮完成选择
- 打个断点
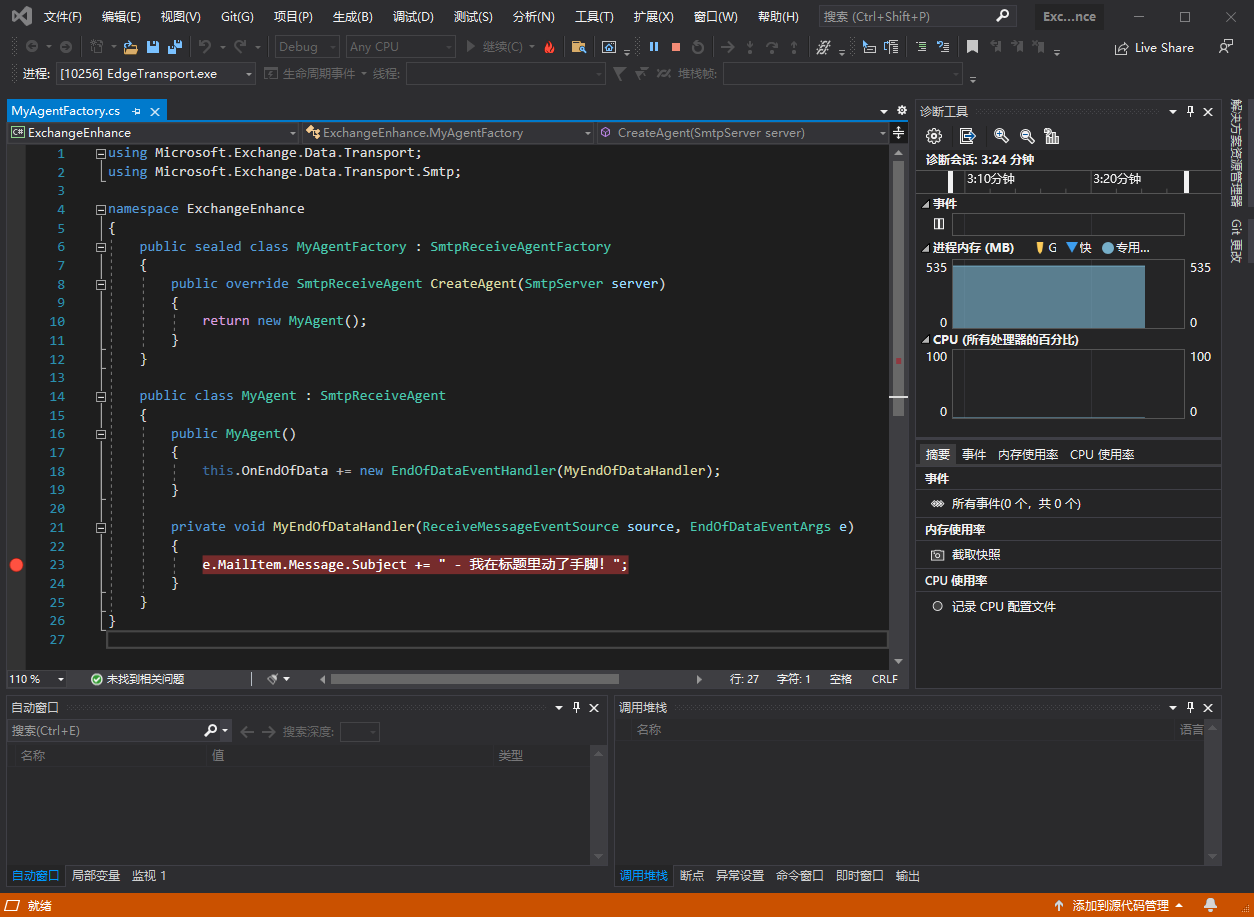
- 发一封邮件
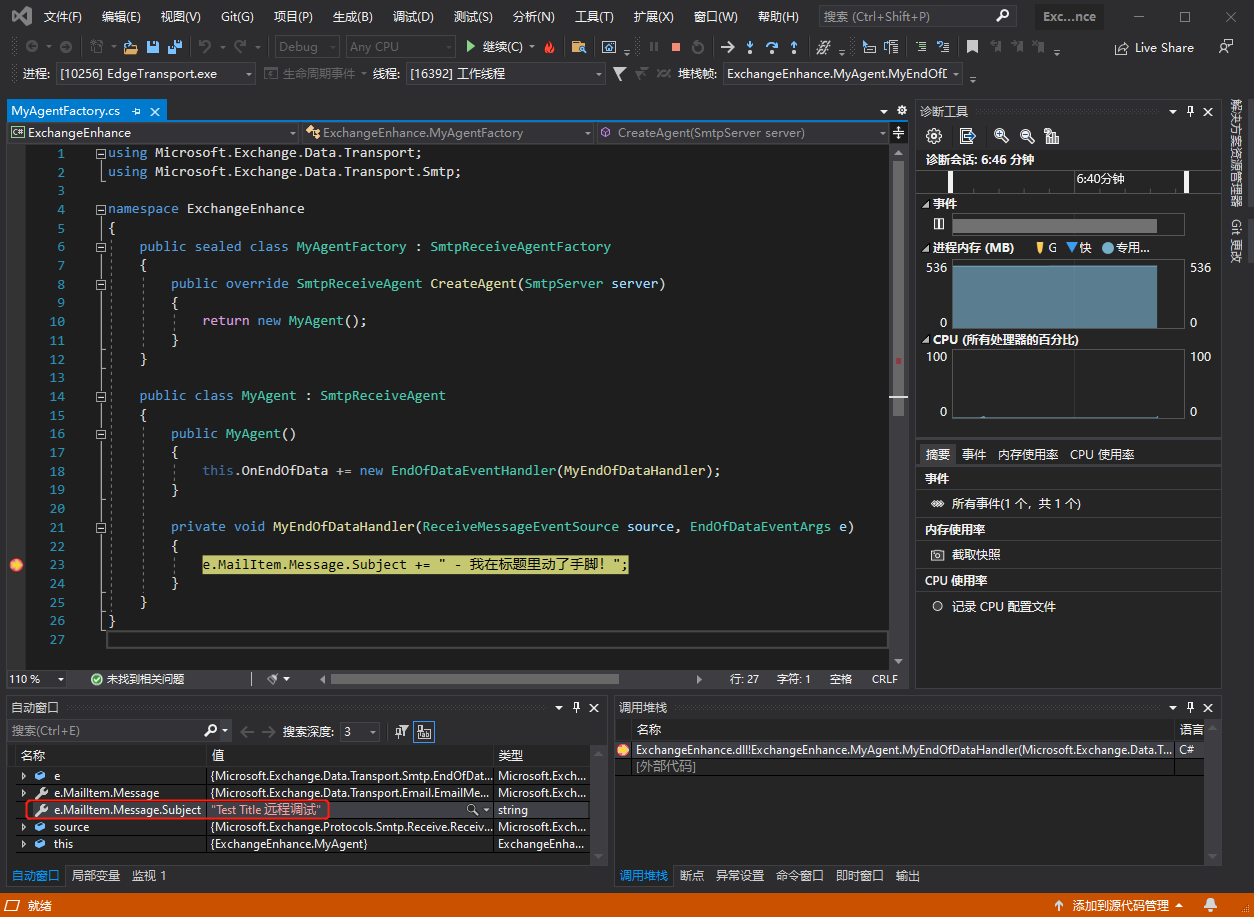
- 点击发送后程序执行到断点处,我们在标题中增加“远程调试”几个字,完成后点击“继续”
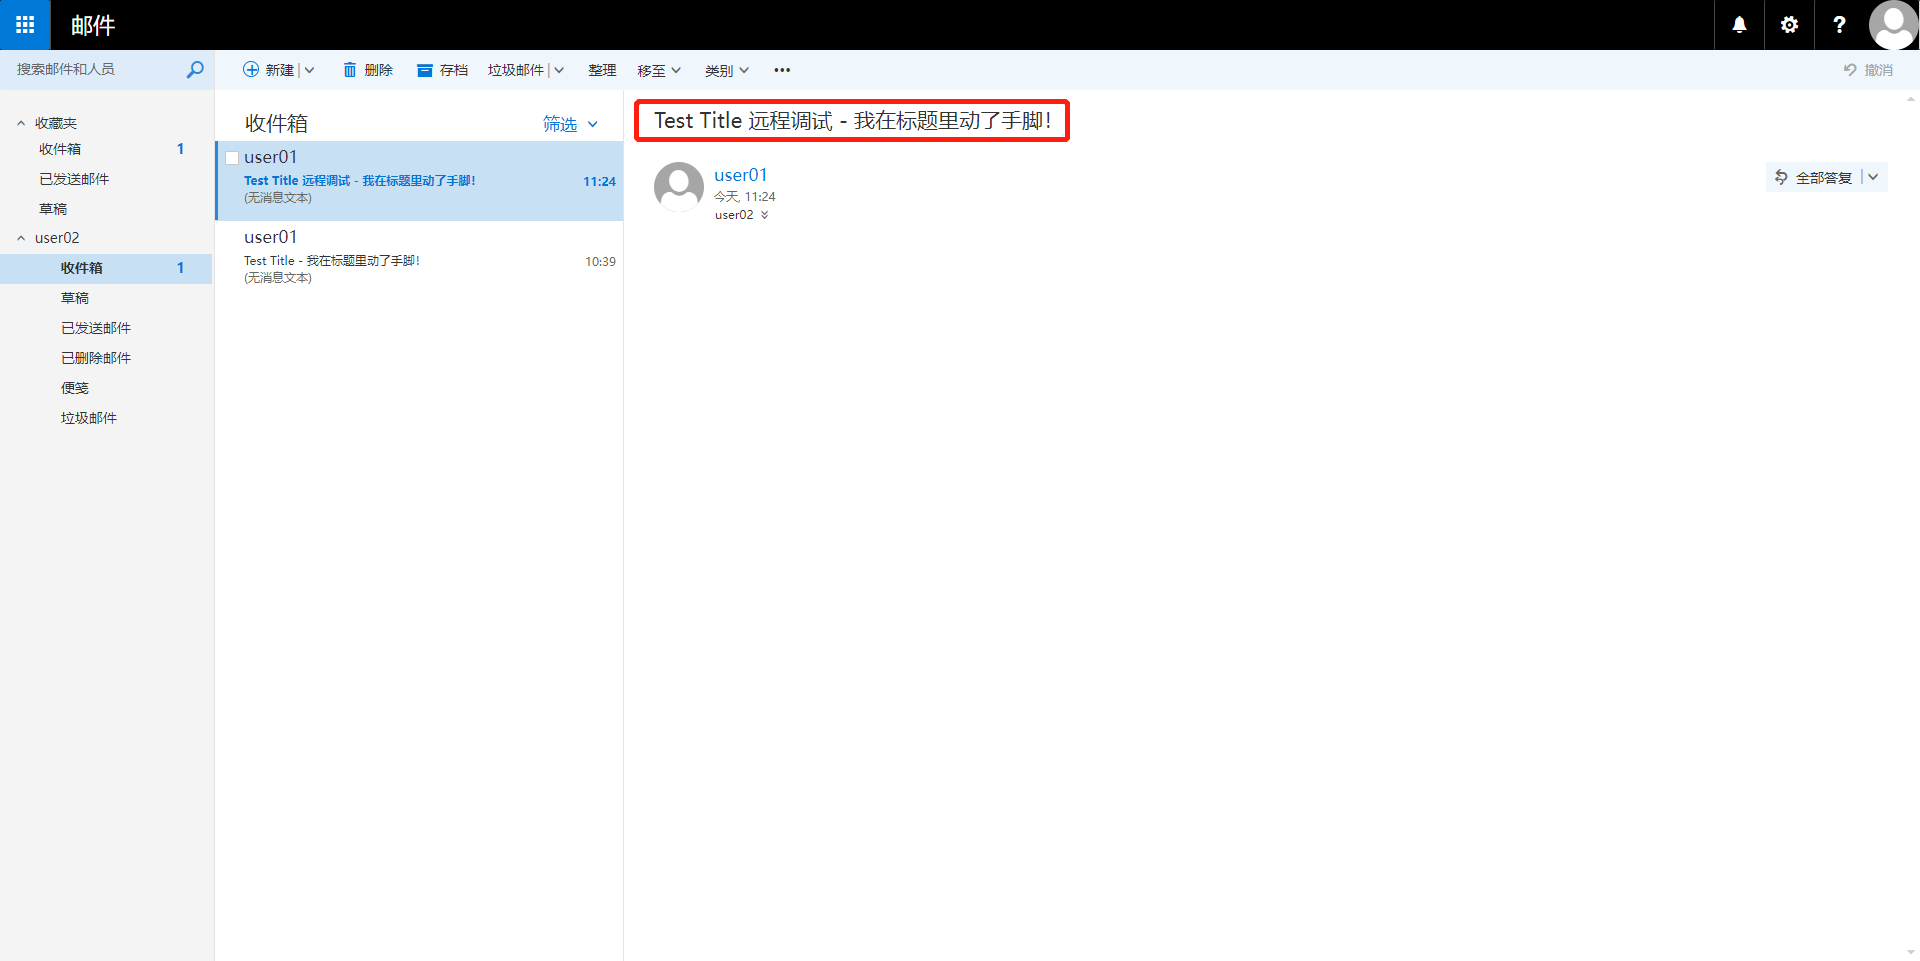
- 接收邮件,验证调试
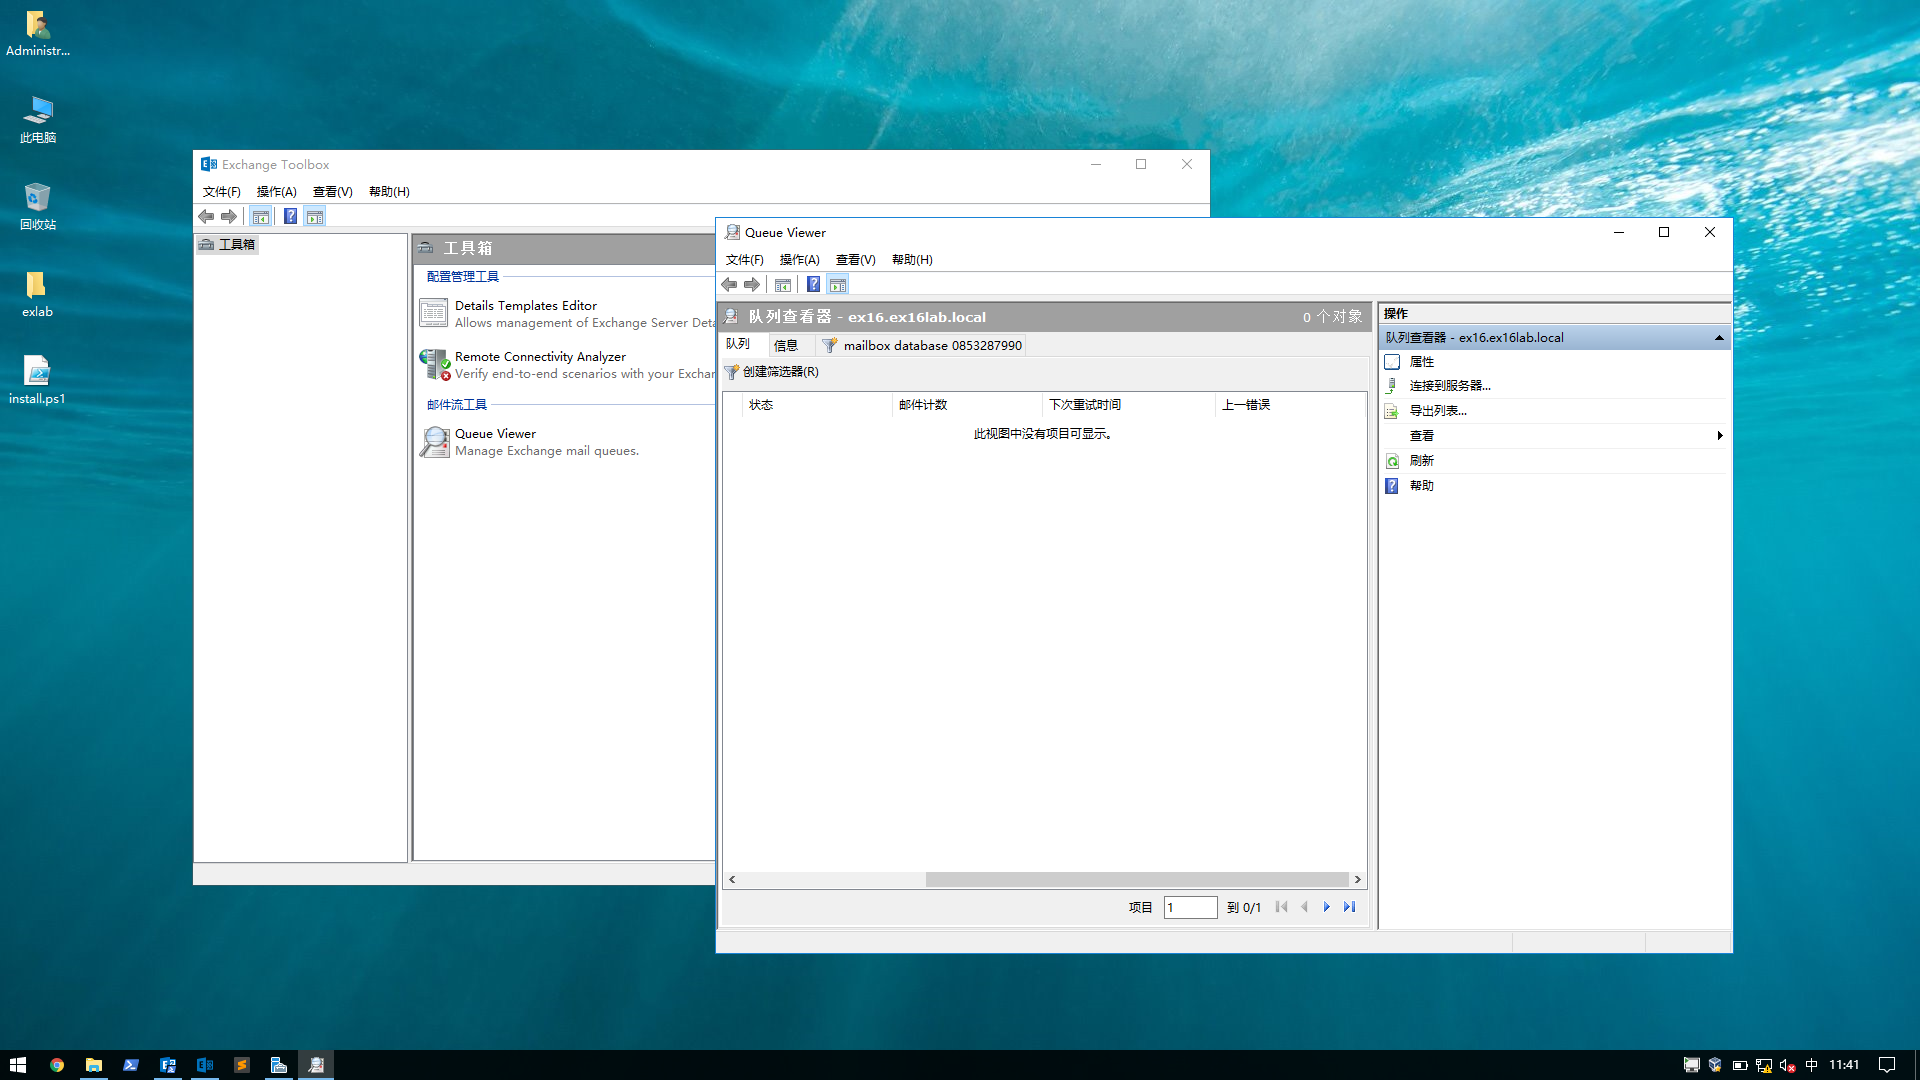
其他
最后跟大家介绍一个工具,Exchange提供的工具箱Exchange Toolbox。其中的Queue Viewer可以跟踪到邮件的当前状态,调试的时候可以用得到。
总结
Exchange 传输代理的开发是一件玄而又玄的事情,不是说代码有多难写,而是你不知道会在哪个莫名其妙的地方卡住,然后不知道做了什么就又成功了。所以最重要的是保持信心,坚信自己能解决每一个玄学问题,祝好运!